

In today’s connected world, a reliable network is the backbone of any home or business. While pre-made patch cords are convenient, the ability to create custom-length Ethernet cables is an invaluable skill for IT professionals, system integrators, and dedicated DIYers. It allows for cleaner installations, on-the-spot repairs, and significant cost savings on large projects.
As leaders in high-performance network cabling solutions, we at D-Lay Cable want to empower our customers with the knowledge to succeed. This comprehensive guide will walk you through every step of wiring a Cat5e Ethernet cable using the industry-standard T568B specification.
Essential Tools and Materials You’ll Need
Starting with the right equipment is the first step toward a professional result. A poor-quality crimper or connector can lead to failed connections and hours of frustration. We recommend using professional-grade components for reliability and performance.
- Bulk Cat5e Cable: For superior performance and durability, choose a cable with 100% pure solid copper conductors, like the ones we offer at D-Lay Cable. Avoid ‘CCA’ (Copper Clad Aluminum) for critical network infrastructure.
- RJ45 Connectors: These are the plastic plugs at the end of the cable. Ensure you have Cat5e-rated connectors that match your cable type (solid or stranded).
- Crimping Tool with Wire Stripper: This is the most crucial tool. A good crimper will not only secure the plug but also cleanly strip the outer jacket without damaging the inner wires.
- Ethernet Cable Tester: A simple continuity tester is a non-negotiable tool. It instantly verifies that all eight wires are correctly connected and will save you from future network headaches.
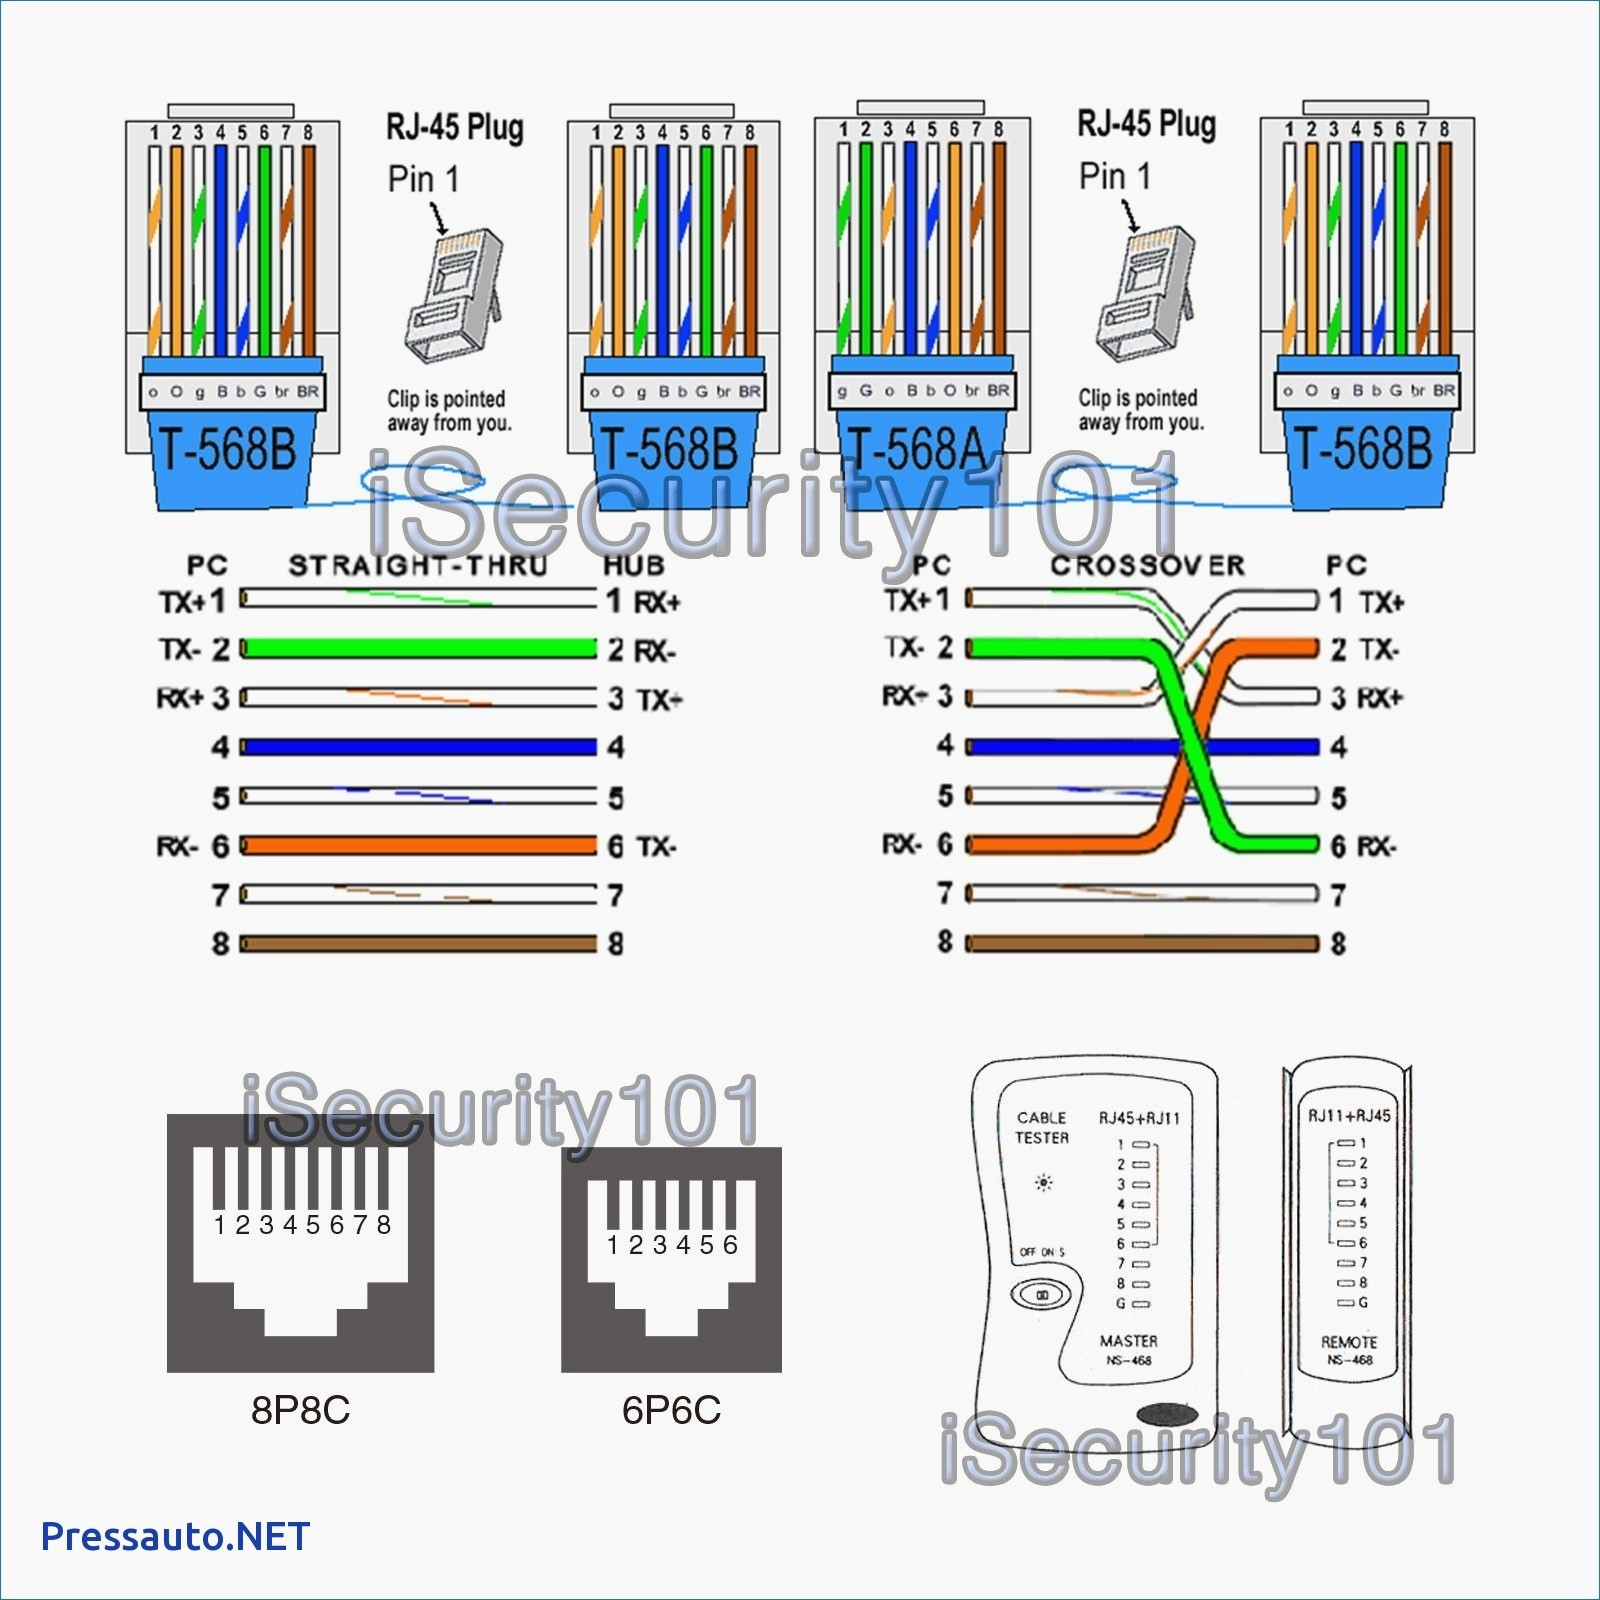
Understanding Wiring Standards: T568A vs. T568B
Inside an Ethernet cable are eight wires, organized into four twisted pairs. To make a functional cable, these wires must be inserted into the RJ45 plug in a specific order. There are two standards recognized by the TIA/EIA: T568A and T568B.
- T568B: This is the most common standard used in the United States and for new network installations. We will be using T568B for this guide.
- T568A: This standard is often used in existing government contracts and some international projects.
The Golden Rule: For a standard “straight-through” cable (used to connect a computer to a switch, router, or wall jack), you must use the same wiring standard on both ends. Using T568B on one end and T568A on the other creates a “crossover” cable, which is largely obsolete as modern network devices can auto-detect the connection type.
T568B Color Code
Holding the RJ45 plug with the locking tab facing down and the copper pins facing you, the wire order from left to right (Pin 1 to Pin 8) is:
1. Orange/White
2. Orange
3. Green/White
4. Blue
5. Blue/White
6. Green
7. Brown/White
8. Brown
Step-by-Step Guide to Wiring Your Cable
With your tools ready and the color code in mind, you’re ready to begin. Work on a clean, well-lit surface.
Step 1: Strip the Outer Jacket
Using the stripping blade on your crimping tool, carefully score the outer jacket of the cable about 1-1.5 inches (3-4 cm) from the end. Be gentle—you only want to cut the jacket, not the twisted pairs inside. Once scored, bend the cable to break the jacket and slide it off.
Step 2: Untwist and Arrange the Wires
You will see four twisted pairs of wires. Untwist each pair completely and begin to flatten and straighten them with your fingers. This is a critical step for a clean insertion. Arrange them in the T568B color order from left to right, as listed above.
Step 3: Flatten, Align, and Trim
Pinch the straightened wires tightly together between your thumb and forefinger, ensuring they remain in the correct T568B order. Check the alignment visually. Now, using the cutting blade on your crimper, make a single, clean cut across all eight wires, leaving about 1/2 inch (1.25 cm) of wire exposed from the jacket. A uniform, straight edge is essential.
Step 4: Insert Wires into the RJ45 Connector
Keep the wires flat and in order. Pick up an RJ45 connector with the tab facing down. Carefully slide the bundle of wires into the connector. Push firmly but gently until you see the copper ends of each wire appear at the very tip of the connector. The cable’s outer jacket should be pushed inside the plug, past the strain relief clamp, for a secure fit.
Pro Tip: Double-check the wire order one last time by looking through the transparent top of the plug.
Step 5: Crimp the Connector
Insert the wired RJ45 plug into the appropriate slot on your crimping tool (usually marked ‘8P’ or ‘RJ45’). Squeeze the handles of the tool firmly and evenly. You should hear and feel a “click.” This action does two things: it pushes the copper pins down to pierce the wire insulation and make contact, and it secures the cable jacket with the strain relief clamp. Remove the cable from the tool.
Step 6: Repeat for the Other End
Now, simply repeat steps 1 through 5 on the other end of the cable, ensuring you use the same T568B standard for a straight-through connection.
The Final Step: Testing for a Perfect Connection
Never skip this step. Plug both ends of your newly made cable into your Ethernet cable tester. A good tester will have a series of lights (1 through 8) on both the main unit and the remote. When you activate the test, the lights should illuminate in sequence on both units. If they all light up green and in order (1-1, 2-2, etc.), your cable is a success!
Common Mistakes and Troubleshooting Tips
- Tester lights are out of order: You have likely mixed up the wire order. Cut off the plug and start again, paying close attention to the color code.
- One or more lights do not illuminate: A wire is not making proper contact. This is usually because it wasn’t pushed all the way into the connector or the crimp was not firm enough. Re-terminate the end.
- Intermittent connection issues: This can be caused by using low-quality cable (CCA) or a poor crimp that loosens over time. Always use high-quality components for best results.
Your Partner for Quality Networking
Congratulations! You’ve successfully created a professional-grade Ethernet cable. By mastering this skill, you’ve taken control of your network’s physical infrastructure.
At D-Lay Cable, we are more than just a supplier. We are your partner in building reliable, high-performance networks. From our pure copper bulk Cat5e and Cat6 cables to our precision-engineered RJ45 connectors and professional tools, we provide the foundation for networks that last. Explore our full range of products and see why professionals trust D-Lay Cable for their most critical projects.